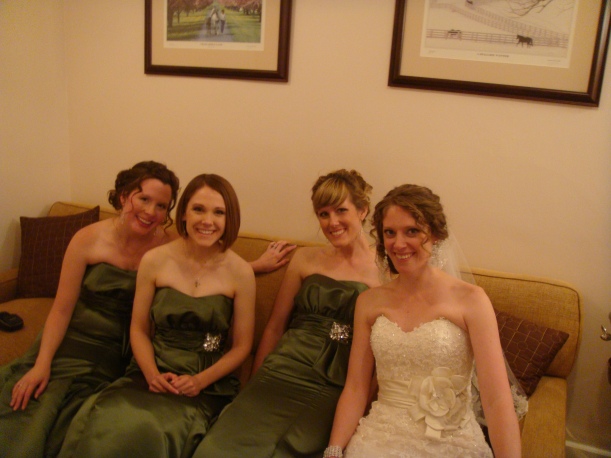
One of my very best friends got married this summer, and I got to be in her wedding. Hence, I have only this digital picture of the wedding, but you can see a few on the photographer’s blog. Here is a shot of the bridesmaids in the dressing room.
Anyway, this friend really wanted a guestbook quilt. Lucky for her, one of her bridesmaids was a quilter. Me!
I bought a bunch of fat quarters (a yard of fabric quartered) in her wedding colors, purple, green, and ivory, the lighter and more subtly-patterned ones onto which I ironed freezer paper. (Freezer paper is available at the grocery store, and is a kind of plastic-coated paper that will stick to fabric when ironed on, but then peel off easily. It makes the fabric stiff and easier to write on.) I then cut all the fabric into squares. I started out pinking the edge of some to make them look fancy, but that was taking forever compared to the rotary cutter, so I just intermingled my ~5 pinked squares among the rest. My squares were 5″ x 5.” That means the final size of the square when quilted would be 4.5″ x 4.5″. I took about 120 to the wedding, along with two permanent fabric pens. I think there were something like 180-200 people at the wedding, but many were couples or in families, so I only needed a bit more than half that number of squares.
At the wedding is where I learned of a few more things I should have done:
1. Have an attendant at the guest book quilt table to give instructions. In this cute picture off Pinterest of someone doing a guestbook quilt, they do not appear to have any attendant, just some framed instructions. The basic instruction is not to write within a half inch of the edge, because the quilter needs some material to sew. Some people apparently do not read this instruction, because a few signatures had to be forever bound up in the internal parts of the quilt. Also, one person wrote on the freezer paper side instead of the fabric side. Most people did do fine, but if it is your wedding, you will want to read every signature later.
2. Either have the table where people have to pass it to get to the wedding, or have the DJ announce it several times over the course of cocktail hour/dancing. The DJ at this wedding announced it right before everyone had to head into the reception, so if people hadn’t noticed it before, they didn’t have time to sign it. TSH and I remedied this by walking around with the fabric pens and baskets of squares to everyone during the dancing and asking if they had signed them. We missed a few people, but ended up getting about 50 more squares signed. And we still had time to slow dance together once, which is about all TSH can handle anyway.
3. Have more than 2 fabric pens. One of my pens died partially through the night, and people tend to write a lot more on a quilt square than they would in a guestbook, so there wouldn’t have been as much waiting around with more than 2 pens.
If you don’t sew, you might want to ignore the rest, but I ended up with 16 squares by 12 squares, so 192 squares. (about 75 of these were signed). To at some visual interest, and get the quilt to ~5′ wide, I added some vertical strips that were half the width of the squared when quilted. (2 and 3/4 inches wide before quilted, and 5″, 9.5″, or 14″ long. Every place there will be a seam, you have to add a quarter inch on each piece for seam allowance.) I then arranged it all out on the floor how I wanted and took a picture. The picture is not just for the blog. Rather, I couldn’t leave it on the floor for months, and I wanted to see how I had arranged it.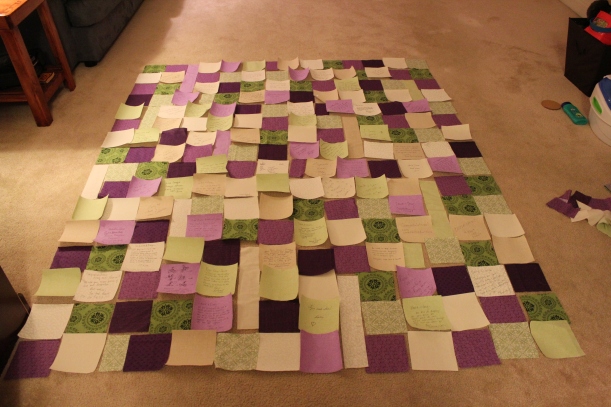
The vertical strips made piecing the quilt a little bit trickier, so I used a photo manipulation software to draw lines around the sections I could sew together in one chunk before sewing those chunks to other chunks. That looked like this:

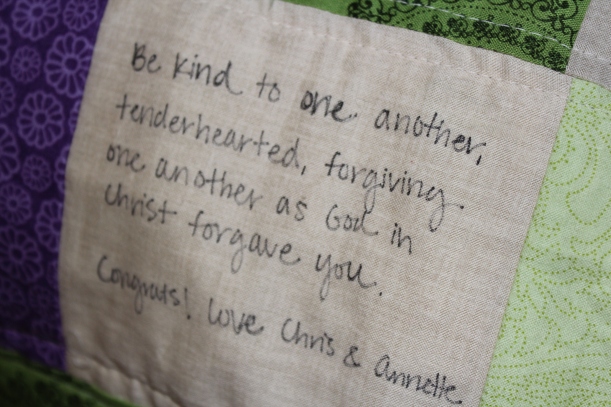
After I pieced it, I made a quilt sandwich with a piece of batting I had on hand, and a purple twin sheet. I decided to quilt it in straight, horizontal lines. I didn’t want the quilting interfering with the writing on the squares, so the lines were one quarter inch above and below each horizontal seam, and I stopped and skipped over the vertical strips where there wasn’t a seam. You can see the quilting in this photo of a correctly signed square:
We were able to see the newlyweds a couple weekends ago and give them their quilt. Yay! Congrats again, dear friends!


