The Strategic Homemaker

learning to follow the Father, care for the clan, and redeem the resources


4 Comments

Home Decorating to the Glory of God

This summer, I decided to do a Bible study on home decor. I had some notes from a Sunday school class I took in high school, and I also looked up every time the Bible talked about furnishings, as well as read all the passages where God describes something he designed (creation, new Jerusalem) or gives instructions for it (tabernacle, temple). Those led me to some other passages too. It was a sort of Biblical scavenger hunt.

I was hoping to do a blog series on what I learned, but I’m having trouble making time to write these days, so here are the quick takeaways with a few of the supporting references:

1. The Bible talks about God’s designs for a place and home furnishings more than many people think. (Gen 1-2, Exodus 25-40, I Kings 4, II Chron 2-5, Rev 21-22)

2. Home decor should be done for God’s glory. (Psalm 19:1, Psalm 29:9, Psalm 115:1, I Cor 10:31)

3. God often directs symbolism or memorials to remind us of His works. (Deut. 27:1-8, Numb. 15:39, Zech. 6:14)

4. We should pursue hospitality in the way we furnish and decorate our homes. (Rom 12:13)

5. God’s Word should have a prominent role in our homes. (Deut. 6:9, Psalm 119:97)

6. We must avoid decorating in a way that dishonors God. (Exod. 20:4, Psalm 49, Prov. 7:4-5, Amos 3-6)


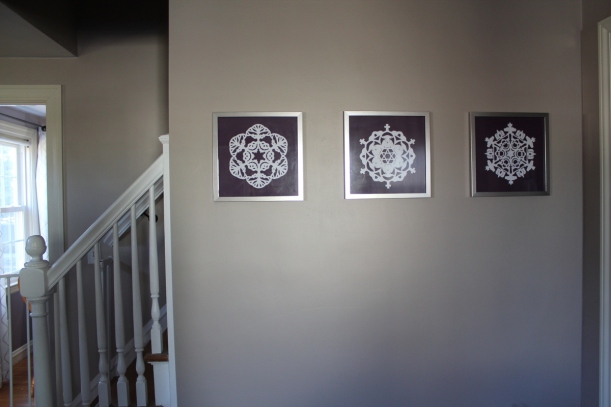
The study also led me to make some art for my house by which I could share the good message about Jesus Christ with guests. I got the idea from my friend Dan’s snowflake book that tells the advent story, and then came up with my own designs. TSH made the graphics below for me. Feel free to download the stencils and make your own.

Stencil templates

fall_full

lamb_full

king_full

These snowflakes show the history of man according to the Bible. Adam and Eve disobeyed God when tempted by the serpent, and  “therefore, just as sin came into the world through one man, and death through sin, and so death spread to all men because all sinned. “ (Rom 5:12)

            “Then Christ was sacrificed once to take away the sins of many people, [the third day he rose again from the dead” (I Cor 15:4)]…”

               …and will appear a second time, not to bear sin, but to bring salvation to those who are waiting for him.” (Heb 9:28)

                  “He is coming with the clouds, and every eye will see him, even those who pierced him…and all peoples of the earth will mourn because of Him. (Rev 1:7)”

                And the angel said to me, “Write this: Blessed are those who are invited to the wedding feast of the Lamb.” And he added, “These are true words that come from God.” (Rev 19:9)

Here they are framed on the wall:

1-IMG_8749

Do you have any ways you have intentionally sought to give God the glory with your home decor? Please let me know and send me a picture! I would love to put an inspiration book together.


5 Comments

Home Improvement Purchases and Hold-offs

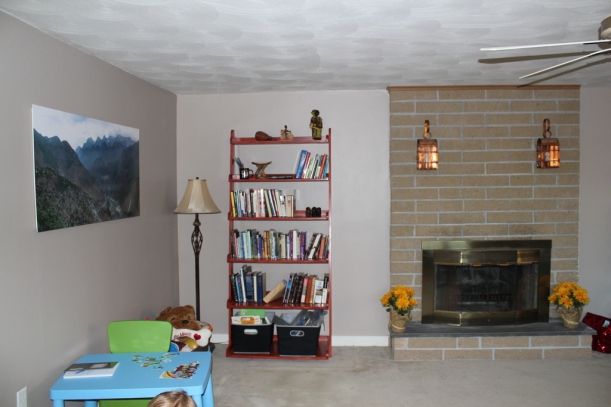
We have been steadily plugging away at the home improvement and furnishing around here, and I have been trying to balance the issues of improving the home’s value, preparing for a winter with a newborn and toddler, getting furnishings that we will want to keep long-term, and not storing up treasures on earth. It is not something with obvious conclusions, and I have been praying for God to give me wisdom in making these decisions. Anyway, here’s where we decided to spend:

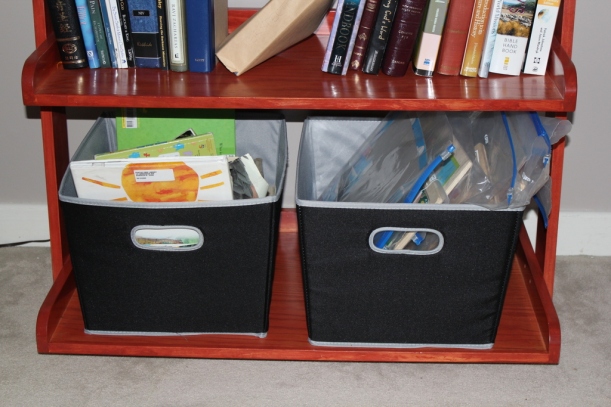
–Organization for the books and puzzles. So far, this has worked great! I got two bins on clearance at Target ($7 each), and bought some jumbo-sized Hefty bags for puzzles. (My daughter loves puzzles, and I think we have around 20.) It was getting annoying to hunt through pieces for 20 puzzles to try to do one, or feeling the need to put them all together at the end of the day. Now, there are usually fewer than 3 out at once, and it is easy for PG to put them away in the correct place.

4-IMG_7592 2-IMG_7590

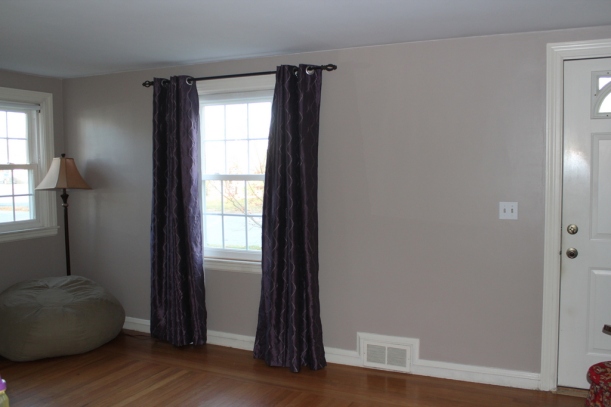
–Curtains and thermal liners for the front rooms (office, dining room, master bedroom). Curtains cost more than it seems that they should. And since we had the previous owners remove the old curtain rods due to our perceived ugliness of them, we also had to spring for rods (4 at about $25 each). I finally decided that the potential heat loss prevented would be worth it to have thermal liners (3 pairs at around $28/pair), and since I saw the same curtains I had been imagining at Bed, Bath, and Beyond on clearance (still averaging about $16 a panel for six panels), we got them. I’m still working on sewing a second ruffle curtain for our bedroom, so not showing that right now.

8-IMG_7598

7-IMG_7595

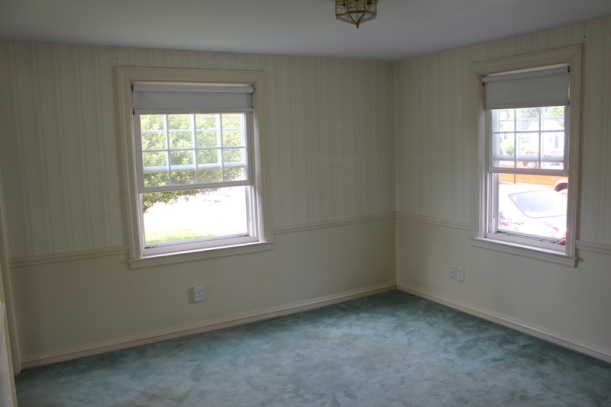
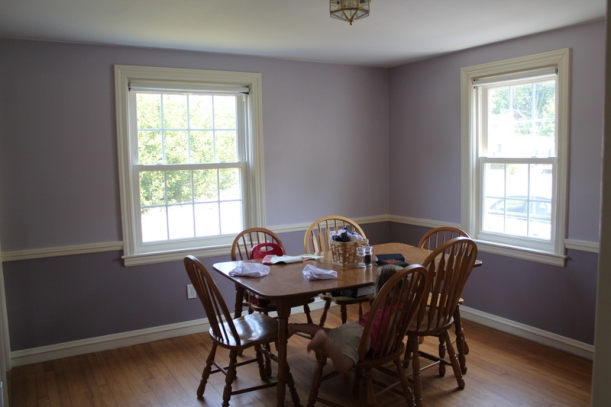
–A new light fixture (see above). Several of our lights burned out, and with it getting dark early here, we had noticed that the original lights were especially dim anyway. TSH didn’t feel like replacing the tiny bulbs the fixture called for. We got a new chandelier for around $50, and have been enjoying that. I never thought I was a chandelier type of person, but I am really liking the way the dining room is coming together. Here are a before and in-progress pic to remind you what it looked like earlier:

IMG_7165IMG_7351

Oh, and we also got a new solid wood table for free from some of our neighbors, but it needs a new coat of finish on it, so it’s in the basement right now.

–Insulation for the attic. We discovered this summer that our house was really poorly insulated, and thanks to a government energy grant, we are able to get about $3000 worth of insulation and air sealing done for around $500. All the workers are backed up right now, but we are in the line-up to get that work done in the next couple of months.

Now, the following are where we decided to hold off:

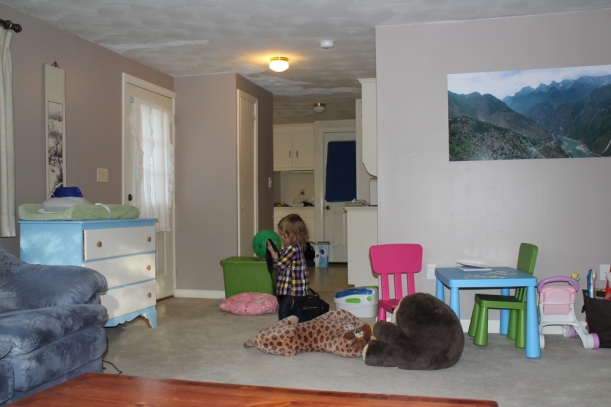
–Replacing the carpet in the living room. We had originally been planning to replace this carpet before winter (it’s wrinkled and a bit dingy at the doorway), but as it’s been rug doctored a couple times (once when we moved in, and once after the mudding adventure), and we have a lot on our plate right now, we decided to hold off on that $700 expense until another time.

–New curtains for the living room. I’ve figured out what I want–something patterned navy and white, but since this was one of the few places the previous owners left up the curtains and rods, we decided to just use what we have for now and save ourselves an additional expense.

3-IMG_7591

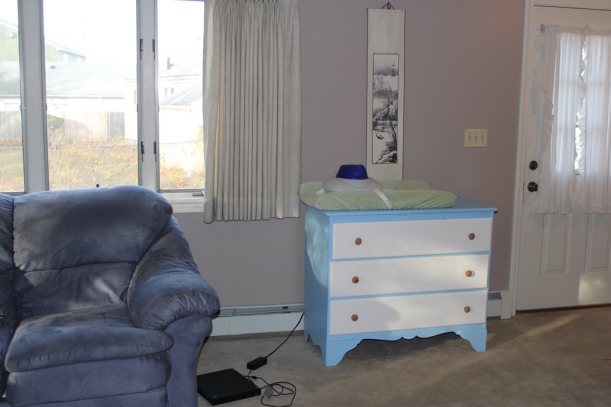
–Buying a changing table to set up a baby station downstairs. After shopping around Craigslist and furniture stores for a dresser or changing table we’d want to keep longterm, we decided to just move the one we had downstairs. Also, the baby room upstairs won’t be ready for a couple more months anyway due to the wall issues.

5-IMG_7593 6-IMG_7594

–Rugs. I really am looking forward to having rugs in several rooms, but at roughly $300 a piece for large soft patterned ones, I have decided to put that off. In all honesty, I had decided to go back to Homegoods and get this one rug which was exactly what I wanted for the office, but after sitting on the decision for a month, it had already sold. God’s way of telling me I didn’t need it right now.

–All the furniture for the office. I’m starting to figure out want I want in here, but right now we are content using the living room for everything, and are going to wait before we furnish another room. Plus, I want TSH to make a couple of the furniture pieces.

So those are the home improvement updates. You also might have noticed that we got some of our art up on the walls, although no new purchases there. That went a long way toward making the house feel like ours.

And finally, here’s a sneak peek at the wall progress in the bedroom. TSH has been hard at work!

9-IMG_7599


4 Comments

I’ve got a golden pillow!…

“…I’ve got a golden twinkle in my eye.” Or, how to get a new throw pillow for $3.

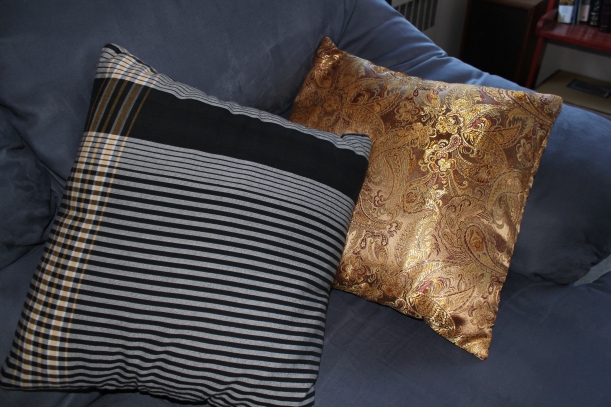
I’ve been updating my pillows in the past couple of months, and I think this golden one concluded the throw pillow updates for the foreseeable future. Unless of course, I win one of these coffee bags off my friend’s blog, “Rhymes with Smile.” Then I will make another pillow.

TSH and I have a few goals in decorating our house. First, we want it to be simple–no extra stuff collecting dust. Second, we want it to be comfortable, putting us and others at ease. Third, we want nearly every item to have a story behind it,or at least appear so. and finally, we’d like the decor to transport people to other lands. Not literally, obviously, although that would be cool.

(I figured out this international theme to the decor when I took this quiz from Homegoods last semester. The quiz results were totally off–gave me “Spa Life”, and suggested I have a giant Buddha in my house, or something like that. However, by browsing through the other possibilities, I figured out what I wanted– an international theme. Most of my decor is from other countries anyway.)

Back to the pillows. We started with some solid red and brown pillows I had gotten on clearance at Lowes for $6 apiece. These were functional, but resulted in a complete absence of pattern in the living room. See below.IMG_4317-001

I covered two of them in Kenyan kikoy material I had on hand, but I felt like we needed a splash of yellow, and it needed to be patterned. I was debating making a patchwork cover, although that didn’t seem very international. And then I saw the international fabrics at Jo-Ann Fabrics. Bam. $3 and 1 hour later, we have a golden pillow. I am a fan.

IMG_5916

I admit, it doesn’t transport yet, but I think this is mostly the builders’ beige walls, the too-low valances, and that random pattern of two clocks and some art on the right. Working on figuring something out for the latter. The former two will just have to wait until we move in a couple months. Here are the pillows, up close.

IMG_5909

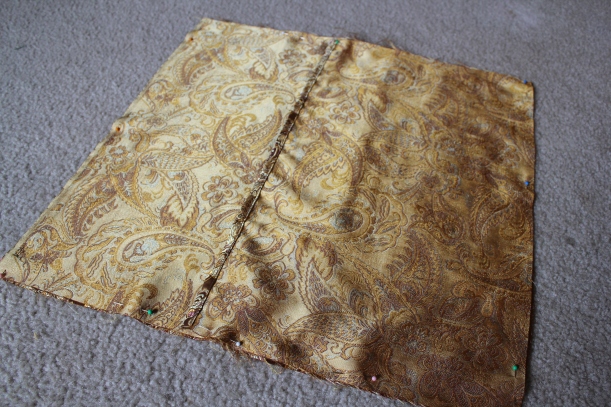
On to making them. There’s a video tutorial here, but making a pillow slipcover is really easy. You measure the sides of your pillow. Then you cut out pieces of your fabric measuring one inch longer on each side, but for the back panel, you add 4 inches to the length. (E.g. I had an 18″ x 18″ pillow, so I cut pieces 19″ x 19″, and 19″ x 23.”) You then cut the back panel in half. (Mine became two 19″ x 11.5″ panels.)

IMG_5847

You hem one long side of each of those small panels. You pin it together, right sides together, so the hemmed edges overlap in the middle. These will make the opening for you to slide your original pillow or pillow form into.

IMG_5849

Sew along the edge, and voila!  Flip it right side out, and insert your old pillow. Cheap update.

Another example–In my daughter’s room:

Before, boring solid yellow:

IMG_4039

After…cool Kenyan kikoys:

IMG_5911

Your turn! Go update a pillow and send me a picture. Or give me decorating ideas. Seriously.